laravel框架学习---使用illuminate/html这个包来实现我们的Form创建
实现了展示文章之后,我们借助illuminate/html这个包来实现我们的Form创建,进而完成我们的文章创建。
第一步 使用Laravel项目的artisan命令行工具先启动一下项目,执行命令:php artisan serve
D:\software\wamp64\www\laravel5>php artisan serve
创建一个路由,访问 ArticlesController 控制器的 create方法。
Route::get('/articles/create', 'ArticlesController@create');ArticlesController 控制器新增加一个create方法:
public function create()
{
    return view('articles.create');
}这时候,如果访问浏览器:http://localhost:8000/articles/create 出现以下错误;是因为我们写的路由写在了上一节show路由的下面,即
Route::get('/', 'SiteController@index');
Route::get('/contact', 'SiteController@contact');
Route::get('/articles', 'ArticlesController@index');
Route::get('/articles/{id}', 'ArticlesController@show');
Route::get('/articles/create', 'ArticlesController@create');

只需要修改成:
Route::get('/', 'SiteController@index');
Route::get('/contact', 'SiteController@contact');
Route::get('/articles', 'ArticlesController@index');
Route::get('/articles/create', 'ArticlesController@create');
Route::get('/articles/{id}', 'ArticlesController@show');
这个时候,它会先去访问上面的路由,而如果上面路由满足的话,就不会去管下面的路由。

resources\views\articles 文件夹下 新增加一个 create.blade.php 视图。原生的写法:
@extends('app')
@section('content')
    <form action=""></form>
@stop但是,在laravel中推荐大家使用一个composer 提供的一个packag,也就是 laravel官方提供的一个illuminate/html 这个包。
来到命令行工具当中,执行命令:composer require illuminate/html
D:\software\wamp64\www\laravel5>composer require illuminate/html
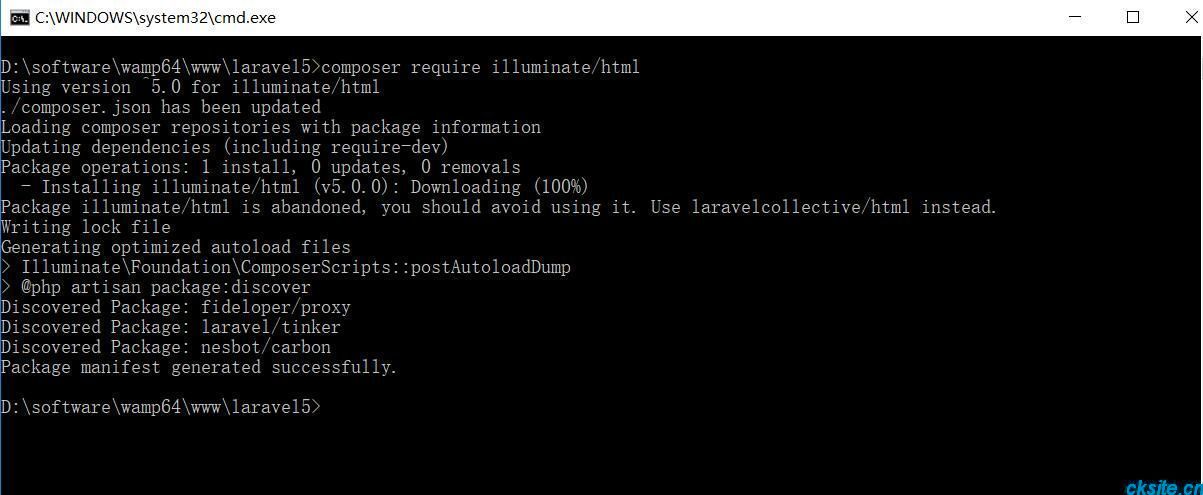
静待一会,安装成功之后,我们们怎么告诉Laravel,这个Package已经安装了?或者说我们怎么将这个Package跟Laravel的整个体系结合起来呢?
通过提供Service Provider和指定Facade!这样就可以很完美地与Laravel结合了。
配置:
那么说回Service Provider和Facade,刚开始可能对Service Provider的概念可能很迷惑,不过你现在完全不必要担心,尽管打开config/app.php这个文件看一看:
'providers' => [
    Illuminate\Foundation\Providers\ArtisanServiceProvider::class,
    Illuminate\Auth\AuthServiceProvider::class,
    Illuminate\Broadcasting\BroadcastServiceProvider::class,
    //...
]
你会看到providers这个数组里面会有一堆Laravel预置的Service Provider,比如我们经常使用到得Auth,Controller等,都可以在这里找到。如果你再往下拉,你还会看到一个这样的aliases数组:
'aliases' => [
    'App'       => Illuminate\Support\Facades\App::class,
    'Artisan'   => Illuminate\Support\Facades\Artisan::class,
    'Auth'      => Illuminate\Support\Facades\Auth::class,
    //...
]
aliases其实就是快捷方式了,一旦在这里指定了快捷方式,我们就可以在Laravel中全局使用,比如我在代码中使用Auth,其实背后我就是在用Illuminate\Support\Facades\Auth::class,然后再深入,我们其实是在用providers中的Illuminate\Auth\AuthServiceProvider::class这个。
待illuminate/html包安装成功后,我们来配置一下我们的illuminate/html,
在config/app.php中的providers添加我们的Service Provider,providers末尾追加:
Illuminate\Html\HtmlServiceProvider::class,
OK,Service Provider添加好了之后,我们来添加我们的Facade,也就是在aliases这个数值后面添加:
'Form' => Illuminate\Html\FormFacade::class,
配置好以后,浏览器再次访问:http://localhost:8000/articles/create
发现 报错,提示:Call to undefined method Illuminate\Foundation\Application::bindShared() ,
原因:网上查到说5.1以后不支持了,然后就移除illuminate/html在config/app.php中的配置项,
再执行:
composer remove illuminate/html
composer update
解决:5.1以后用laravelcollective/html 这个package替换了。
composer require laravelcollective/html
在/config/app.php的providers数组中添加下面的这句:
'providers'=>[
    // ...
    Collective\Html\HtmlServiceProvider::class,
    // ...
],
在/config/app.php的aliases数组中添加下面的这两句:
'aliases'=>[
    // ...
    'Form'=>Collective\Html\FormFacade::class,
    'Html'=>Collective\Html\HtmlFacade::class,
    // ...
],
使用Forms:
这两个配置好了之后,我们就可以在在我们的create.blade.php这个视图中使用它了:
@extends('app')
@section('content')
    <h1>撰写新文章</h1>
    {!! Form::open() !!}
    {!! Form::close() !!}
@stop 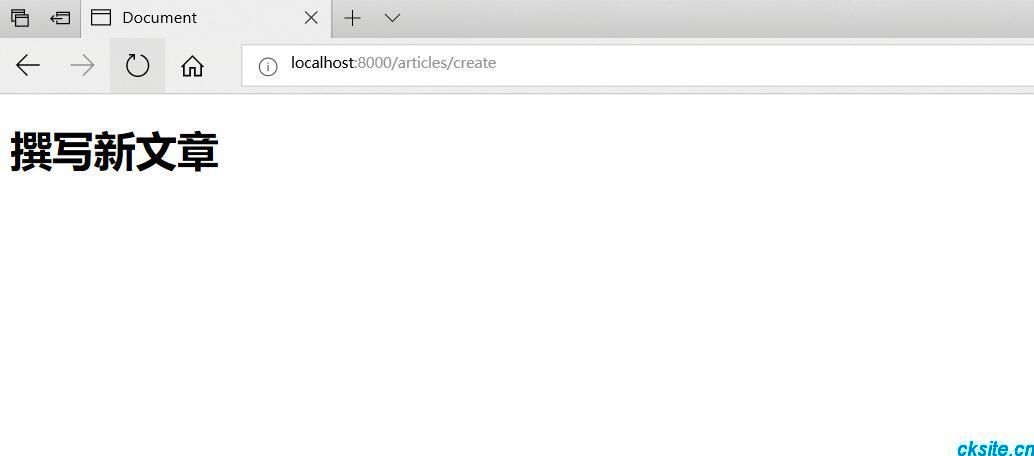
不指定 action 地址的话,会默认访问当前请求地址。如果想指定 的话,只需 给 open 增加 一个参数:
{!!Form::open(array('url'=>'foo/bar'))!!}
//
{!!Form::close()!!}
接下来,继续添加一个 label 和input表单,并注册一个路由:当表单提交时,post方式提交到我们的 ArticlesController 控制器的 store 方法。
@extends('app')
@section('content')
    <h1>撰写新文章</h1>
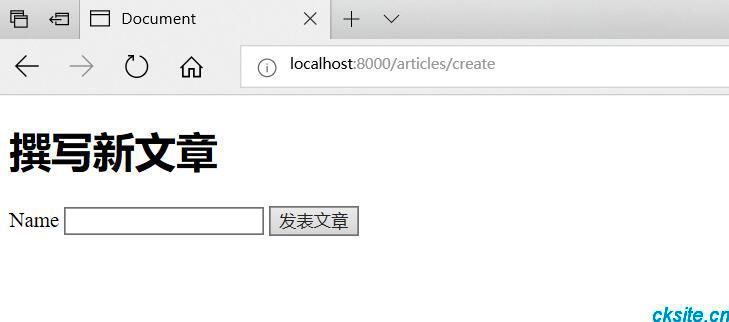
    {!! Form::open(['url'=>'/articles']) !!}
        {!! Form::label("title") !!}
        {!! Form::text("title",null,['class'=> 'form-control']) !!}
        {!! Form::submit("发表文章",['class'=> 'btn btn-primary form-control']) !!}
    {!! Form::close() !!}
@endsection
我们可以刷新,先访问一下 http://localhost:8000/articles/create ,查看下源代码:

新增路由:
Route::get('/', 'SiteController@index');
Route::get('/contact', 'SiteController@contact');
Route::get('/articles', 'ArticlesController@index');
Route::get('/articles/create', 'ArticlesController@create');
Route::get('/articles/{id}', 'ArticlesController@show');
Route::post('/articles', 'ArticlesController@store');            //提交处理的方法
ArticlesController 控制器添加 store 方法:
public function store(Request $request)
{
    dd($request->all());
     dd($request->get('title'));        //如果我们需要单独获取title的值的话,只需要这样做
}
使用 dd函数 可以打印查看 一下我们提交的数据。
array:2 [▼
  "_token" => "QLqoroValyN626Imfgsqn94ax2WnxDT8mTKGALXE"
  "name" => "aaa"]
修改表单提交视图:
@extends('app')
@section('content')
    <h1>撰写新文章</h1>
    {!! Form::open(['url'=>'/articles']) !!}
        {!! Form::label("title") !!}
        {!! Form::text("title") !!}<br>
        {!! Form::label("content") !!}
        {!! Form::text("content") !!}<br>
        {!! Form::label("intro") !!}
        {!! Form::text("intro") !!}<br>
        {!! Form::submit("发表文章",['class'=> 'btn btn-primary form-control']) !!}
    {!! Form::close() !!}
@endsection
修改控制器 store 方法:
注意:使用 Carbon::now(),我们需要引用这个类,在头部添加 use Carbon\Carbon;
Tip:使用有些编辑器 phpstorm在 添加 Carbon::now() 会自动帮我们引入这个类。
namespace App\Http\Controllers;

use App\Article;
use Carbon\Carbon;
use Illuminate\Http\Request;

class ArticlesController extends Controller
{
    //
    public function index()
    {
        $articles = Article::all();

        return view('articles.index', compact('articles'));
    }

    public function show($id)
    {
        $article = Article::find($id);
        return view('articles.show', compact('article'));
    }

    public function create()
    {
        return view('articles.create');
    }


    public function store(Request $request)
    {
        //dd($request->all());

        //接受post过来的数据
        //存入数据库
        //重定向

        $input = $request->all();
        $input['published_at'] = Carbon::now();

        Article::create($input);                    //会自动帮我们过滤掉token

        return redirect('/articles');
    }
}
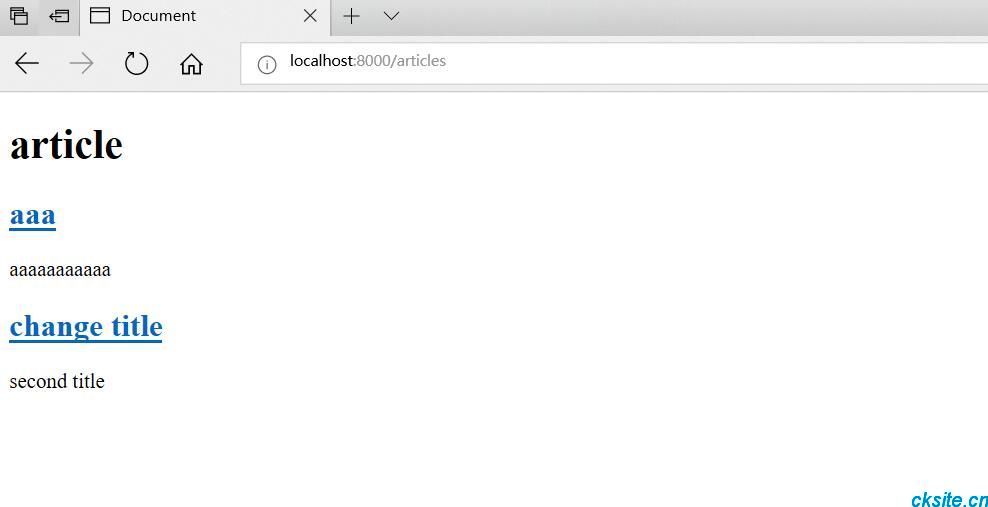
这样添加成功后,就可返回到我们的首页,显示所有文章列表。
如果想我们的文章 最新添加的显示在最上面的话,就需要改动下我们的index方法的代码:
public function index()
{
    $articles = Article::latest()->get();

    return view('articles.index', compact('articles'));
} 
本文为崔凯原创文章,转载无需和我联系,但请注明来自冷暖自知一抹茶ckhttp://www.cksite.cn

- 最新评论
- 总共0条评论
