Linux 安装rabbitMQ
1.erlang安装
1.1 依赖包安装:
[root@192 ~]# yum install ncurses-devel unixODBC unixODBC-devel
1.2 源码安装Erlang
官网地址:https://www.erlang.org/downloads
[root@192 ~]# wget
[root@192 ~]# tar -zxvf otp_src_23.0.tar.gz
[root@192 ~]# mv otp_src_23.0 /usr/local/
[root@192 ~]# cd /usr/local/otp_src_23.0/
[root@192 otp_src_23.0]# ./configure --prefix=/usr/local/erlang
[root@192 otp_src_23.0]# make && make install
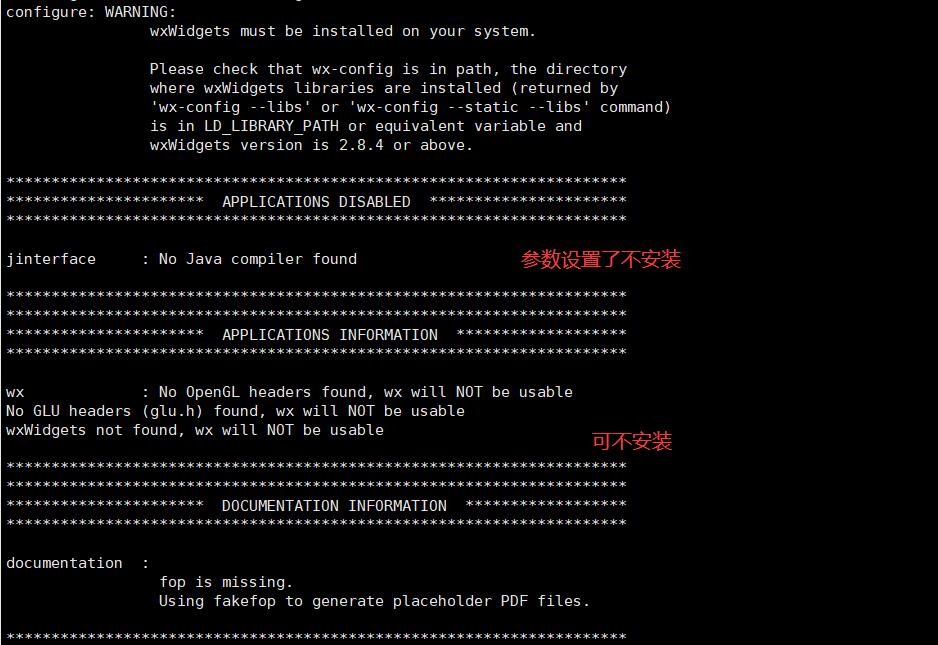
configure后结果(可以忽略)

1.3 加入环境变量
# 配置erlang环境变量,文件追加内容 :/usr/local/erlang/bin
[root@192 otp_src_23.0]# vim /etc/profile
export PATH=$PATH:/usr/local/sbin:/usr/local/bin:/usr/sbin:/usr/bin:/usr/local/erlang/bin

# 保存退出,并刷新变量
[root@192 otp_src_23.0]# source /etc/profile
1.4 测试
# 测试erlang是否安装成功
# 安装完成以后,执行erl看是否能打开eshell,用’halt().’退出,注意后面的点号,那是erlang的结束符。

[root@192 otp_src_23.0]# erl
Erlang/OTP 23 [erts-11.0] [source] [64-bit] [smp:4:4] [ds:4:4:10] [async-threads:1] [hipe]

Eshell V11.0  (abort with ^G)
1> 9+3.
12
2> halt().
[root@192 otp_src_23.0]#
下载地址:
https://www.rabbitmq.com/install-generic-unix.html
https://github.com/rabbitmq/rabbitmq-server/releases
5672: 通信端口
15672: web管理端口
25672: 集群通信端口
2.1 编译安装
[root@cklocalhost ~]# wget https://github.com/rabbitmq/rabbitmq-server/releases/download/v3.8.4/rabbitmq-server-generic-unix-3.8.4.tar.xz
[root@cklocalhost ~]# tar xf rabbitmq-server-generic-unix-3.8.4.tar.xz
[root@cklocalhost ~]# mv rabbitmq_server-3.8.4/  /usr/local/rabbitmq
2.2 加入环境变量
[root@192 ~]# vim /etc/profile
export PATH=$PATH:/usr/local/rabbitmq/sbin

[root@192 ~]# source /etc/profile
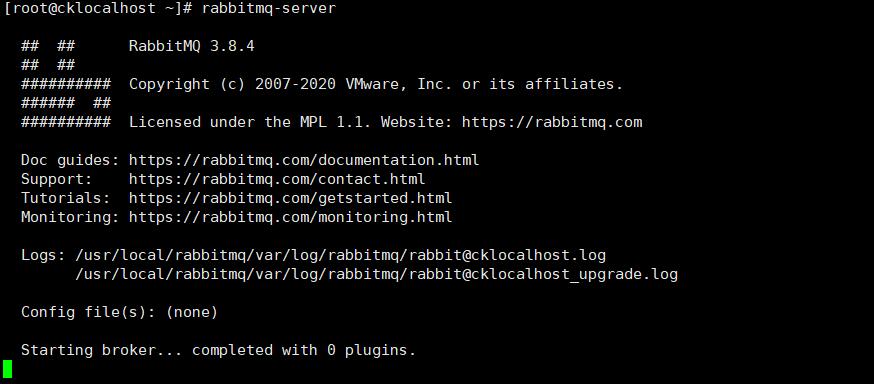
2.3 、启动rabbitmq
[root@cklocalhost ~]# rabbitmq-server

  ##  ##      RabbitMQ 3.8.4
  ##  ##
  ##########  Copyright (c) 2007-2020 VMware, Inc. or its affiliates.
  ######  ##
  ##########  Licensed under the MPL 1.1. Website: https://rabbitmq.com

  Doc guides: https://rabbitmq.com/documentation.html
  Support:    https://rabbitmq.com/contact.html
  Tutorials:  https://rabbitmq.com/getstarted.html
  Monitoring: https://rabbitmq.com/monitoring.html

  Logs: /usr/local/rabbitmq/var/log/rabbitmq/rabbit@cklocalhost.log
        /usr/local/rabbitmq/var/log/rabbitmq/rabbit@cklocalhost_upgrade.log

  Config file(s): (none)

  Starting broker... completed with 0 plugins.

启动rabbitmq
[root@cklocalhost ~]# rabbitmq-server              ###启动
或
[root@cklocalhost ~]# rabbitmq-server -detached    (后台运行)

[root@cklocalhost ~]# netstat -lntup|grep -E "5672|25672|15672"    ###查看生成端口,web并没有启动成功
tcp    0      0 0.0.0.0:25672           0.0.0.0:*         LISTEN      8880/beam.smp
tcp6    0      0 :::5672                   :::*         LISTEN      8880/beam.smp
2.4开启web管理界面
[root@cklocalhost ~]# rabbitmq-plugins enable rabbitmq_management
Enabling plugins on node rabbit@localhost:
rabbitmq_management
The following plugins have been configured:
  rabbitmq_management
  rabbitmq_management_agent
  rabbitmq_web_dispatch
Applying plugin configuration to rabbit@localhost...
The following plugins have been enabled:
  rabbitmq_management
  rabbitmq_management_agent
  rabbitmq_web_dispatch

set 3 plugins.
Offline change; changes will take effect at broker restart.

[root@cklocalhost ~]# netstat -lntup|grep -E "5672|25672|15672"
tcp        0      0 0.0.0.0:25672           0.0.0.0:*               LISTEN      7933/beam.smp
tcp        0      0 0.0.0.0:15672           0.0.0.0:*               LISTEN      7933/beam.smp
tcp6       0      0 :::5672                 :::*                    LISTEN      7933/beam.smp
2.5 添加用户
[root@cklocalhost ~]# rabbitmqctl add_user dream 1
Adding user "dream" ...
[root@cklocalhost ~]# rabbitmqctl set_user_tags dream administrator
Setting tags for user "dream" to [administrator] ...
[root@cklocalhost ~]#
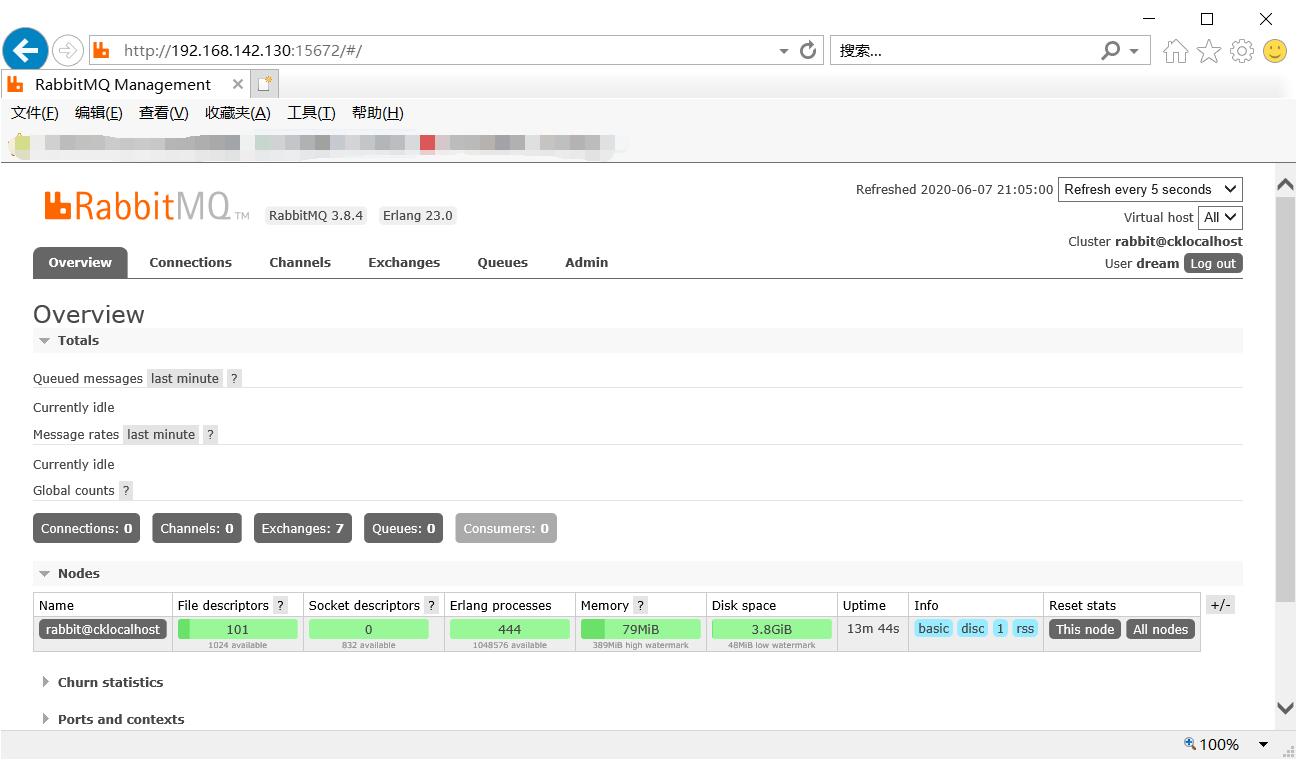
2.6 测试登陆
默认的账户为:guest/guest,但是需要我们加入hosts解析到127.0.0.1,这里我们用dream/1进行登陆!!!
http://192.168.142.130:15672

2.7 常用命令
/usr/local/rabbitmq/sbin/rabbitmq-server            ##启动rabbitmq
/usr/local/rabbitmq/sbin/rabbitmq-server -detached  ##后台启动rabbitmq
/usr/local/rabbitmq/sbin/rabbitmqctl status         ##查看状态
/usr/local/rabbitmq/sbin/rabbitmqctl stop           ##关闭rabbitmq
2.8 安装报错
报错1:ERROR: epmd error for host 192: badarg (unknown POSIX error)
解决方案:
因为我linux主机的名称是数字的原因造成此问题的。解决方法如下:首先查看了主机名称(修改
[root@192 ~]# hostnamectl status
   Static hostname: localhost.localdomain
Transient hostname: 192.168.142.130
         Icon name: computer-vm
           Chassis: vm
        Machine ID: f57abe86b5fb4e9a9239bb827c0242ce
           Boot ID: ad9d6f2e54c34a1994aa83fe9848f012
    Virtualization: vmware
  Operating System: CentOS Linux 7 (Core)
       CPE OS Name: cpe:/o:centos:centos:7
            Kernel: Linux 3.10.0-957.1.3.el7.x86_64
      Architecture: x86-64
[root@192 sbin]#

接着来设置一下,输入(**就是你要设置的主机名):
[root@192 ~]# hostnamectl set-hostname cuikai
[root@192 ~]# shutdown -r now

注意:一旦修改了静态主机名, /etc/hostname将自动更新。然而,/etc/hosts 不回保存所做的修改,所以需要在更i性能主机名后手动保存
/etc/hosts,之后重启系统。

手动保存,输入:
vim /etc/hosts
之后重启。
报错2:Crash dump is being written to: erl_crash.dump...done
[root@cklocalhost ~]# rabbitmq-server

BOOT FAILED
===========

Error description:
   noproc

Log files (may contain more information):
   /usr/local/rabbitmq/var/log/rabbitmq/rabbit@cklocalhost.log
   /usr/local/rabbitmq/var/log/rabbitmq/rabbit@cklocalhost-sasl.log

Stack trace:
   []

=INFO REPORT==== 7-Jun-2020::20:16:13.007485 ===
Error description:
   noproc

Log files (may contain more information):
   /usr/local/rabbitmq/var/log/rabbitmq/rabbit@cklocalhost.log
   /usr/local/rabbitmq/var/log/rabbitmq/rabbit@cklocalhost-sasl.log

Stack trace:
   []


{"init terminating in do_boot",noproc}
init terminating in do_boot (noproc)

Crash dump is being written to: erl_crash.dump...done


原因:
    Erlang版本位最新版本,rabbtimq版本与之不对应
解决方案:
查看环境要求 从新下载对应版本的rabbitMq.本文为崔凯原创文章,转载无需和我联系,但请注明来自冷暖自知一抹茶ckhttp://www.cksite.cn
- 上一篇: PHP扩展之Imagick--命令行常用命令
- 下一篇: Linux下使用rsync进行数据备份

请先登录后发表评论
- 最新评论
- 总共0条评论

