Hyperf 3.1 协程 Redis 多库使用
同服务器的基础使用
这个案例是基于同一台服务器不同的库使用。
第一步:修改配置文件
编辑文件:config/autoload/redis.php
<?php

declare(strict_types=1);

use function Hyperf\Support\env;

return [
    // 此处省略默认 defalut 代码
    'test' => [
        'host' => env('REDIS_HOST', 'localhost'),
        'auth' => env('REDIS_AUTH', null),
        'port' => (int) env('REDIS_PORT', 6379),
        'db' => (int) env('REDIS_DB2', 1),
        'pool' => [
            'min_connections' => 1,
            'max_connections' => 10,
            'connect_timeout' => 10.0,
            'wait_timeout' => 3.0,
            'heartbeat' => -1,
            'max_idle_time' => (float) env('REDIS_MAX_IDLE_TIME', 60),
        ],
    ],
];
第二步:新代理类
新增一个 TestRedis 类并继承 Hyperf\Redis\Redis 类,修改 poolName 的名字为配置文件中的 test,这样就完成了连接池的切换。
<?php
// App\Controller\Server\TestRedis.php

namespace App\Controller\Server;

use Hyperf\Redis\Redis;

class TestRedis extends Redis
{
    // 对应配置文件中的 test
    protected string $poolName = 'test';
}
第三步:使用 redis
方法一:通过依赖注入方式使用
<?php
namespace App\Controller\Server;

use App\Controller\Server\TestRedis;
use Hyperf\HttpServer\Annotation\Controller;
use Hyperf\HttpServer\Annotation\GetMapping;

#[Controller]
class TestRedisController
{
    // 依赖注入 redis
    #[GetMapping('/tsredis/store')]
    public function store(TestRedis $redis)
    {
        $redis->set('webName', '111111');

        return $redis->get('webName');
    }
}
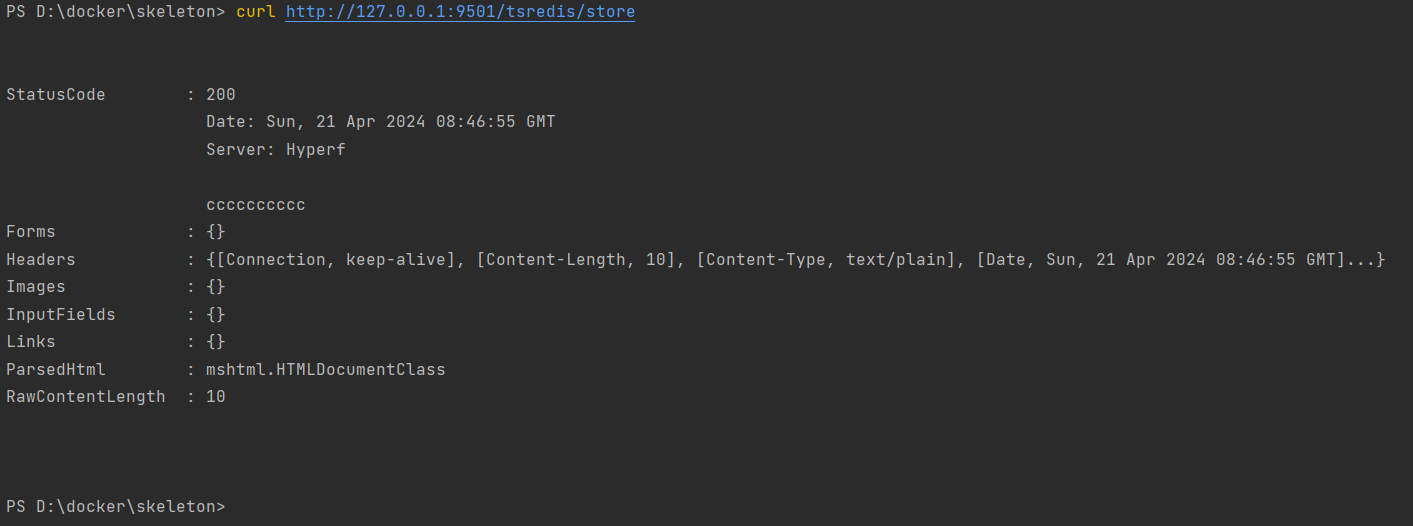
测试:
PS D:\docker\skeleton> curl http://127.0.0.1:9501/tsredis/store
方式二:通过容器对象使用
<?php
// App\Controller\Test\TestRedisController.php

namespace App\Controller\Server;

use Hyperf\Contract\ContainerInterface;
use Hyperf\HttpServer\Annotation\Controller;
use Hyperf\HttpServer\Annotation\GetMapping;

#[Controller]
class TestRedisController
{
    // 依赖注入 redis
    #[GetMapping('/tsredis/store')]
    public function store(ContainerInterface $container)
    {
        $redis = $container->get(TestRedis::class);
        $redis->set('webName', 'cccccccccc');

        return $redis->get('webName');
    }
}
方式三:通过工厂类使用
<?php
namespace App\Controller\Server;

use Hyperf\Context\ApplicationContext;
use Hyperf\HttpServer\Annotation\Controller;
use Hyperf\HttpServer\Annotation\GetMapping;
use Hyperf\Redis\RedisFactory;

#[Controller]
class TestRedisController
{
    // 依赖注入 redis
    #[GetMapping('/tsredis/store')]
    public function store(ApplicationContext $applicationContext)
    {
        $container = $applicationContext::getContainer();
        $redis     = $container->get(RedisFactory::class)->get('test');

        $redis->set('nickname', '11111111');

        return $redis->get('nickname');
    }
}
不同服务器的使用
既然可以操作同一台服务器的不同库,那么也能操作其他机器上的 redis。在操作之前有些准备工作要做。
第一步:相关说明
1、两台机器上的 redis,IP 分别为 192.168.31.90,192.168.31.92
2、在 90 这台机器上操作 92 上的 redis
3、修改 92 这台机器上的 redis.conf,取消保护模式(测试用,生产环境不建议),修改如下:
# 文件: 192.168.31.92  redis.conf

# 取消保护模式
protected-mode no
# 允许连接(生产环境不建议)
bind 0.0.0.0
配置完成后,后续操作都是在 90 这台服务器的 hyperf 项目中。
第二步:修改配置文件
修改 redis 配置文件 config/autoload/redis.php
<?php
declare(strict_types=1);

use function Hyperf\Support\env;

return [
    // 此处省略默认 defalut 代码

    // 另一台 redis 服务器
    'redis31' => [
        'host' => env('REDIS_HOST_31', 'localhost'),
        'auth' => env('REDIS_AUTH_31', ''),
        'port' => (int)env('REDIS_PORT_31', 6379),
        // 连接数据库 1
        'db'   => 1,
        'pool' => [
            'min_connections' => 1,
            'max_connections' => 10,
            'connect_timeout' => 10.0,
            'wait_timeout'    => 3.0,
            'heartbeat'       => -1,
            'max_idle_time'   => (float)env('REDIS_MAX_IDLE_TIME', 60),
        ],
    ],
];
第三步:修改 .env 文件
REDIS_HOST_31=192.168.31.92
REDIS_AUTH_31=(null)
REDIS_PORT_31=6379
第四步:添加代理类
<?php
// App\Controller\Server\TestRedis31.php

namespace App\Controller\Server;

use Hyperf\Redis\Redis;

class TestRedis31 extends Redis
{
    protected string $poolName = 'redis31';
}
第五步:控制器使用
<?php
// App\Controller\Test\TestRedis31Controller.php
namespace App\Controller\Test;

use App\Controller\Server\TestRedis31;
use Hyperf\HttpServer\Annotation\Controller;
use Hyperf\HttpServer\Annotation\GetMapping;

#[Controller]
class TestRedis31Controller
{
    #[GetMapping('/tsredis31/store')]
    public function store(TestRedis31 $redis31)
    {
        $redis31->set('new_name', '真美丽');

        return $redis31->get('new_name');
    }
}
测试
$ http://192.168.31.90:9501/tsredis31/store
真美丽
关于其他使用方式都是一样了,参考基础使用中的方法。
本文为崔凯原创文章,转载无需和我联系,但请注明来自冷暖自知一抹茶ckhttp://www.cksite.cn

请先登录后发表评论
- 最新评论
- 总共0条评论

